Dashboard
Overview
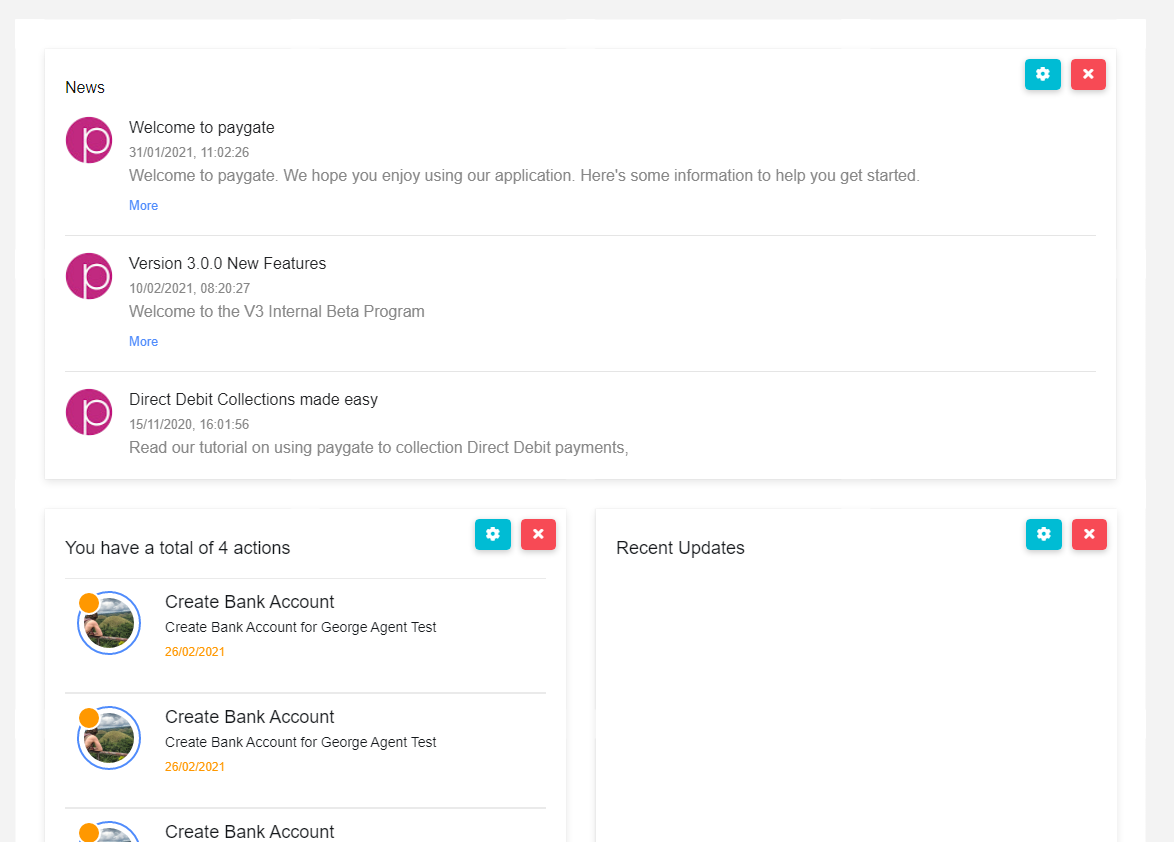
The dashboard will be your first entry point into Paygate, it is customizable and will give you the ability to see the system at a glance.

Default Dashboard
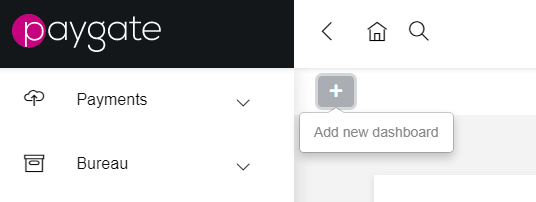
When you first enter Paygate the dashboard will be set to the default one, this is one that is shared between every user, however you can create your own using the “+” button in the top left corner and customize it however you’d like.

This dashboard will only be seen and editable by yourself.
Modifying the Dashboard
To modify the dashboard (you can only modify dashboard you own), you just need to click the cog icon next to the list of dashboards

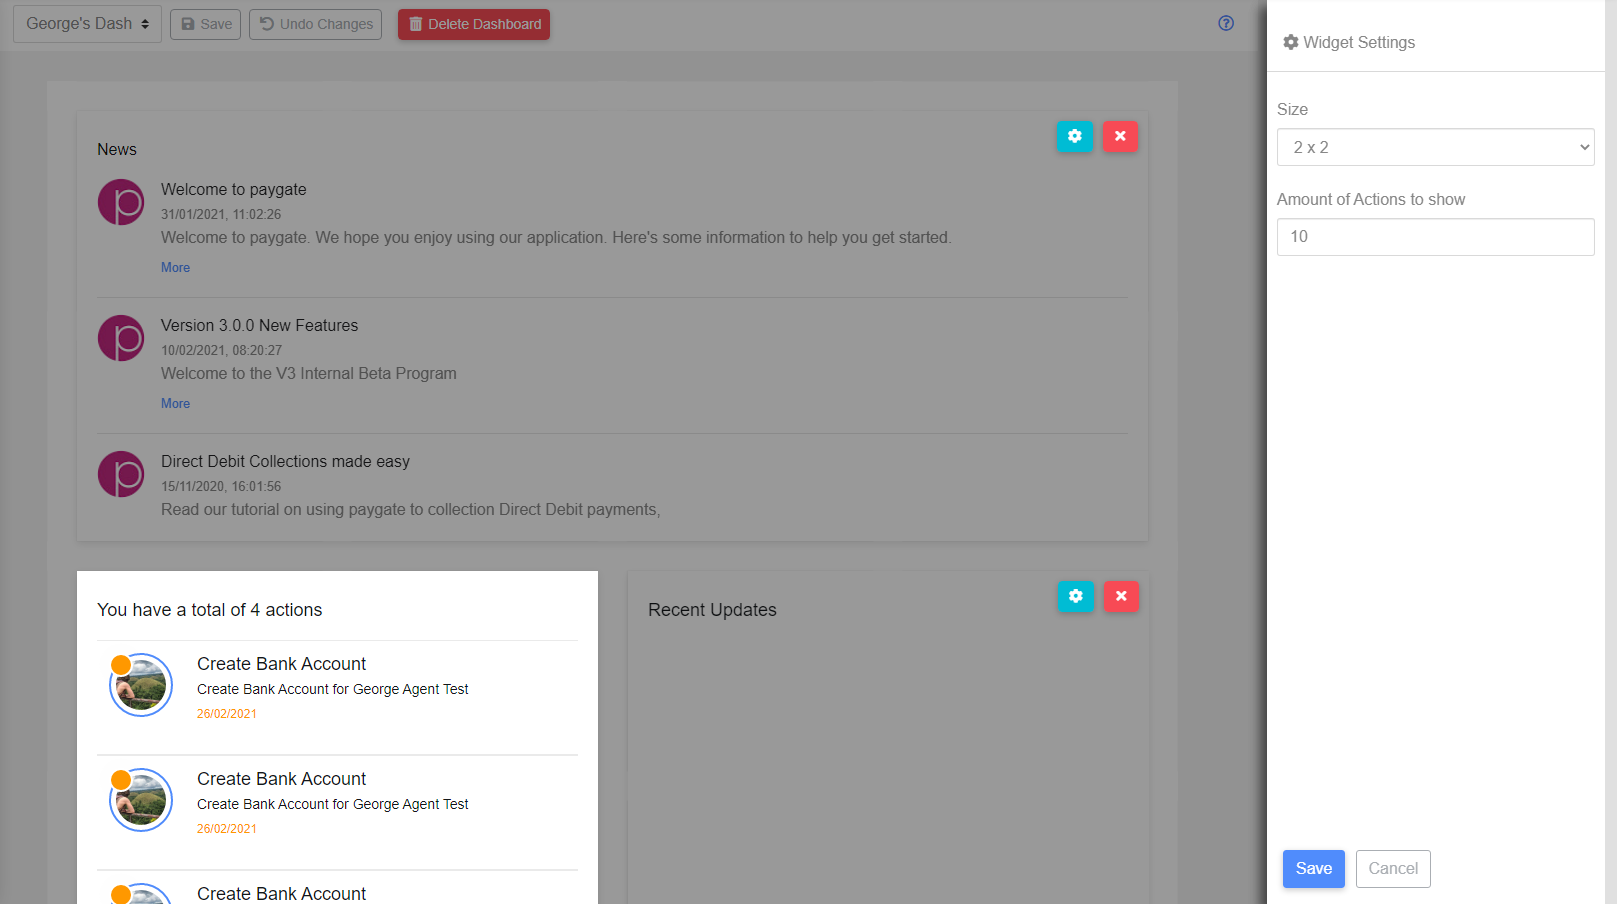
This will take you into the edit mode, from here you can add/remove/edit widgets explained in Dashboard Widgets
Once you’re in edit mode, you can save your changes, undo changes and delete the dashboard

Undoing changes will remove any changes since you last saved
Dashboard Widgets
When you have you’re new dashboard you will have a selection of widgets to display on it appear on the right hand side, there are separated based on what part of the system they display information about.

To add them you can drag and drop to the gird, select them and click the add button, or double click them. They’re be put in the first available space if you choose the second two options, however you can always drag and drop to reorganise them after adding.

Once adding you can customise the widgets further, some have options specific to that widget and most have an option to change the size in various ways, you can do this by clicking the cog icon

You can also remove them from the dashboard by clicking the cross icon on the widget your wish to remove
