Edit Anti-Fraud List
Selecting one of the anti-fraud lists by clicking the row in the table allows the anti-fraud list to be edited.
Anti-Fraud List Details
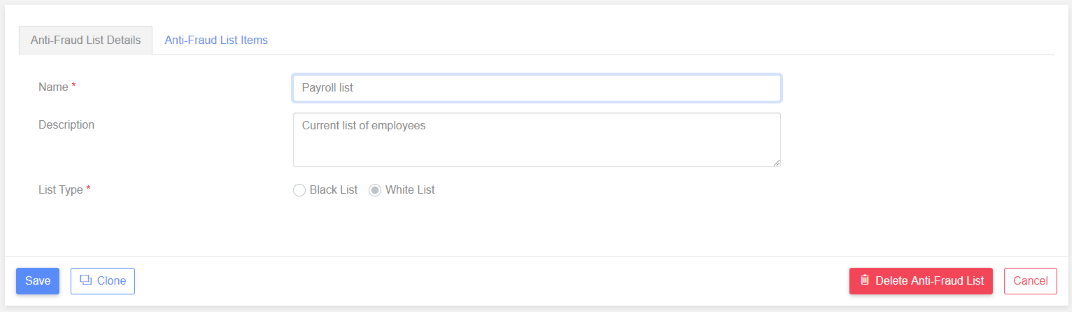
Name
This is the name which appears in the “List of Anti-Fraud Lists” and must be unique in your list of anti-fraud lists. An error will be shown if you try to save an anti-fraud list with the same “Anti-Fraud List Name” as one of your other anti-fraud lists.
Description
Optional description of the anti-fraud list.
List Type
An anti-fraud list can be either a “disallowed list” or an “allowed list”. A “disallowed list” contains beneficiaries which are not allowed. During pre-sub validation any third party beneficiary which appears on a disallowed list will result in a “Fix” or “Warning” message. An “allowed list” contains allowed beneficiaries. During pre-sub validation each beneficiary must appear on the allowed list.
NB. You cannot change the List Type if the anti-fraud list has been assigned to any groups and the List Type will be disabled.
Anti-Fraud List Items
Clicking on the “Anti-Fraud List Items” tab displays the following page.
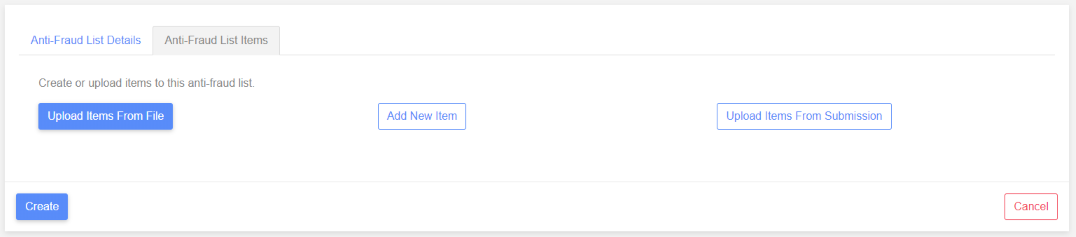
Adding New Anti-Fraud List Items
There are three ways to add items to an anti-fraud list. Either enter a new item manually, upload items from a file or upload from a previously created submission.
NB. All three methods can be used to add items to the same list.
When items are added to the list they are not automatically saved to the database. You must still click the “Save” button to commit any changes. A warning will be shown if you attempt to navigate away from the page before changes have been saved.
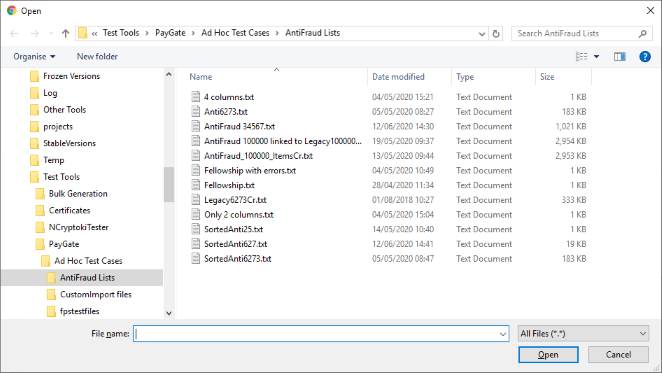
Upload Items From File
The expected file format is a comma separated file containing an account name, sort code and account number. E.g. A line in the file could be: Sam Newman,010004,12345679
The account names will be converted to upper case during the upload process.
Click the “Upload Items From File” button in order to select a file. An area to drop files will be shown. You can either drag a file from Windows Explorer into this area or click the area to display a file selection dialog.
The file will be uploaded and the items shown in a table.
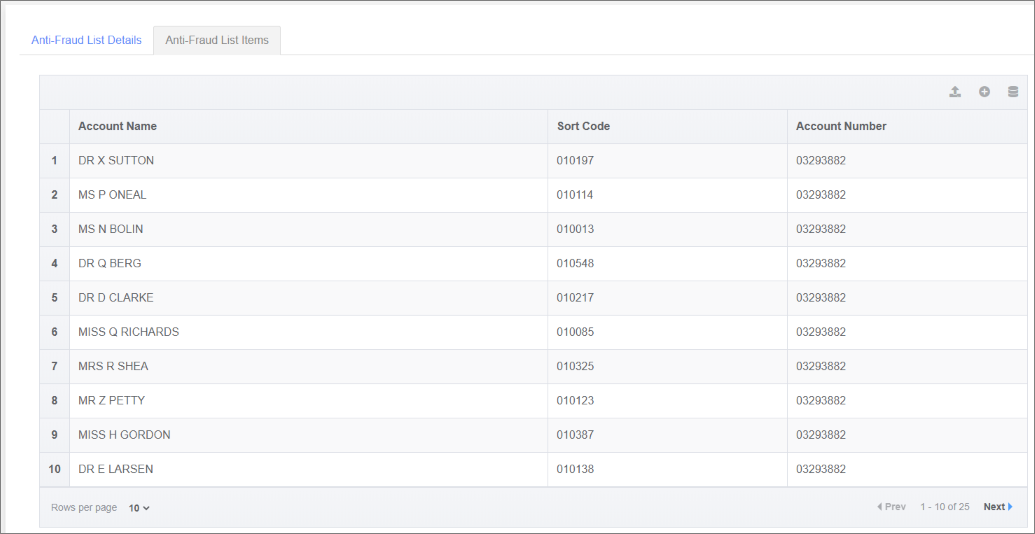
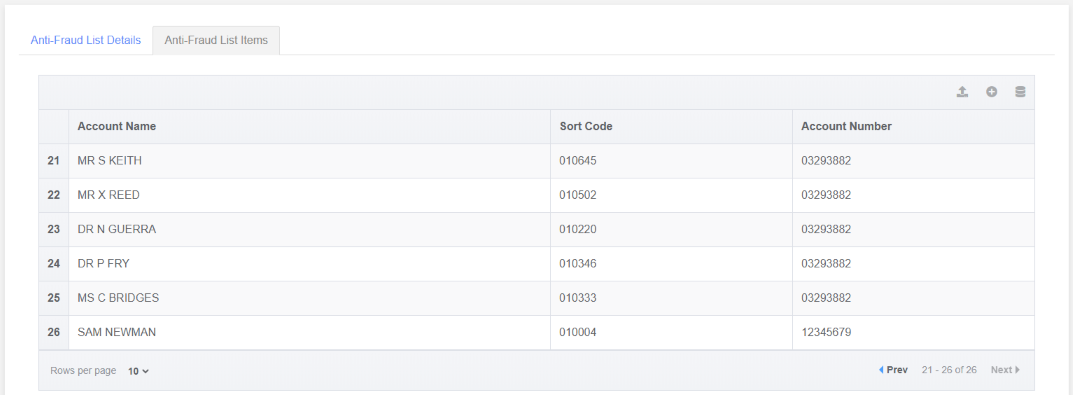
NB. Now that some items have been added to the anti-fraud list, the original three buttons have now been replaced by toolbar icons in the top-right hand corner of the table.
Manually Add Item
Click the “Add New Item” button to enter an anti-fraud list item manually.
Alternatively, if the anti-fraud list already contains items, click the “+” toolbar icon in the grid.
Either will show the following page allowing a new item to be created.
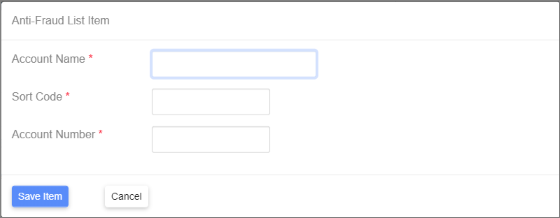
The sort code and account number are validated to reduce errors.
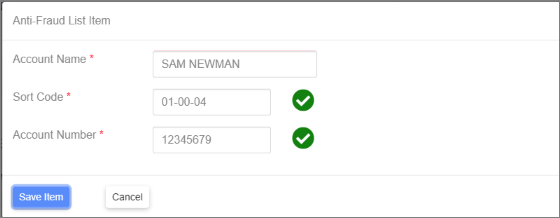
Click “Save Item” to save the new anti-fraud list item.
The new item will be added to the end of the item list as shown below.
Upload Items From Submission
Third party accounts can be uploaded from a previous submission into an anti-fraud list. Click “Upload Items From Submission” to navigate to the “Find Submissions” page. Alternatively click the “database” toolbar icon which is the right-hand icon.
An example of search results is shown below.
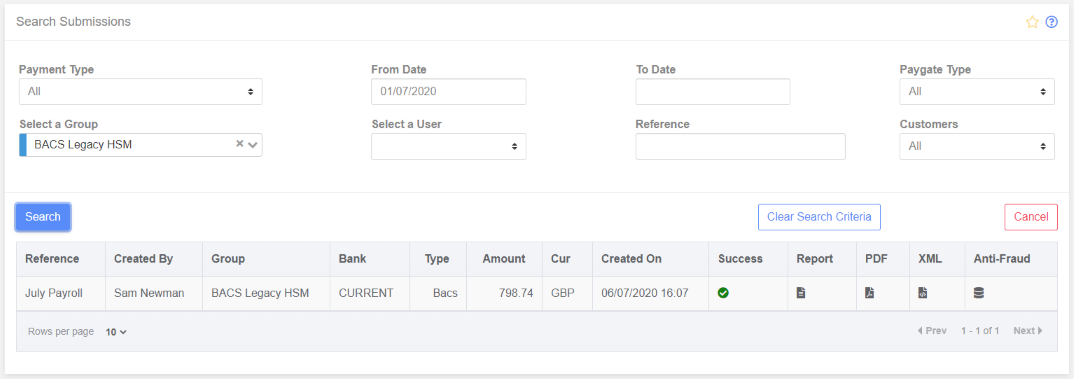
Note the additional “Anti-Fraud” column on the right-hand side of the search results. This indicates that the search was initiated for an anti-fraud list. Clicking “Cancel” will abandon the search and return to the anti-fraud list page without uploading any items to the list. Clicking the database icon in the “Anti-Fraud” column will also return to the anti-fraud list page but will add the items from the chosen submission to the list.
Save the Anti-Fraud List
Click the “Create” button to save the anti-fraud list.
Delete Anti-Fraud List
An anti-fraud list cannot be deleted if it is allocated to any groups. A warning will be shown if this is the case after clicking the “Delete” button. If the list isn’t assigned to any groups a confirmation dialog will be shown asking if the anti-fraud list should be deleted.
Clone Anti-Fraud List
Click the “Clone” button to copy the current anti-fraud list.
The name for the cloned list will default to the current list name with “Copy” as the suffix.
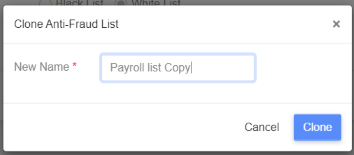 Change the name if required and click “Clone” on this dialog to create the cloned anti-fraud list.