Submission Using Editor
Create Submission
Selecting the “BACS Payments -> Submission Using Editor” menu option will display the page shown below.
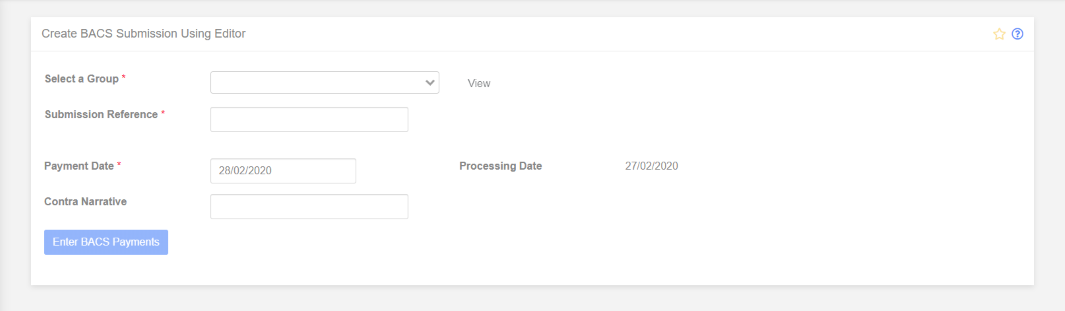
Select a Group
In Paygate all payments are made within a group. Before you can create your submission you must choose a group using the group selector. The selector contains all of the groups in which you have the “Create”, “Edit”, “Add” and “Delete” group roles. If you have set a default or “favourite” group this will be automatically selected.
There is a “View” button to the right of the group selector. Clicking this will show the originating bank details linked to the selected group.
Submission Reference
Every submission needs a reference. This is primarily to allow users to identify submissions as they proceed through the submission process. When a reference has been entered, the file upload section, “Drop files here to upload” is shown.
Payment Date
BACS payments can only be processed Monday to Friday excluding UK bank holidays. The usual sequence is to submit the payment file to BACS one day, have the file processed the next day with the payments being credited or debited from bank accounts the day after that.
The payment date defaults to the next possible payment date. You can change the Payment Date via the date picker. Clicking the date picker will display the current month. Only valid payment dates can be selected as shown below.
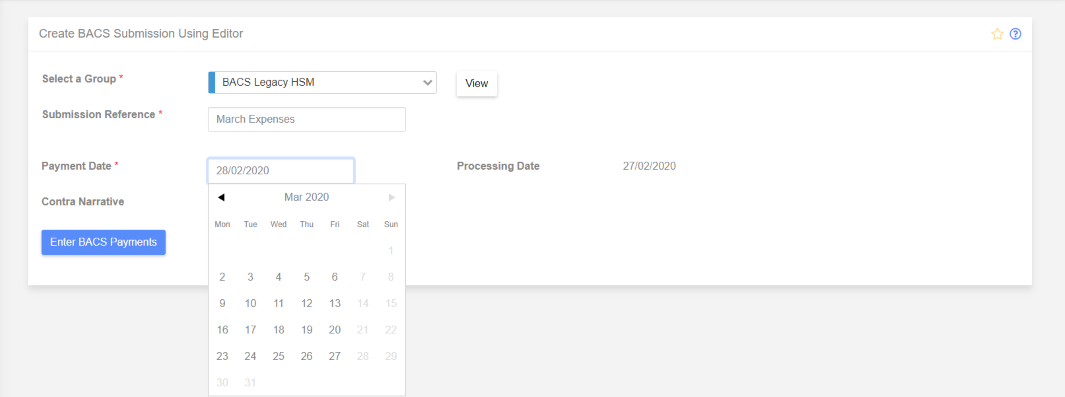
In the above screenshot, the current date is Wednesday 26/02/2020. So the next valid processing date is Thursday 27/02/2020 as shown alongside the “Processing Date”. This makes the next possible payment date Friday 28/02/2020 which is why it’s the default date.
Contra Narrative
This is an optional field which can contain a maximum 18 characters.
A “contra” payment is essentially a balancing payment. E.g. Imagine a payment file with 5 payment credit items totalling £500. The file submitted to BACS will also have a balancing debit contra item of £500.
The “Contra Narrative” will appear in the submitted file and on a BACS “Input” report which some customers use to reconcile payments. If this field is left blank, the contra narrative will default to the originating bank account name; if the bank account name is blank then the contra value will default to the Bank Account Name.
Enter Payments
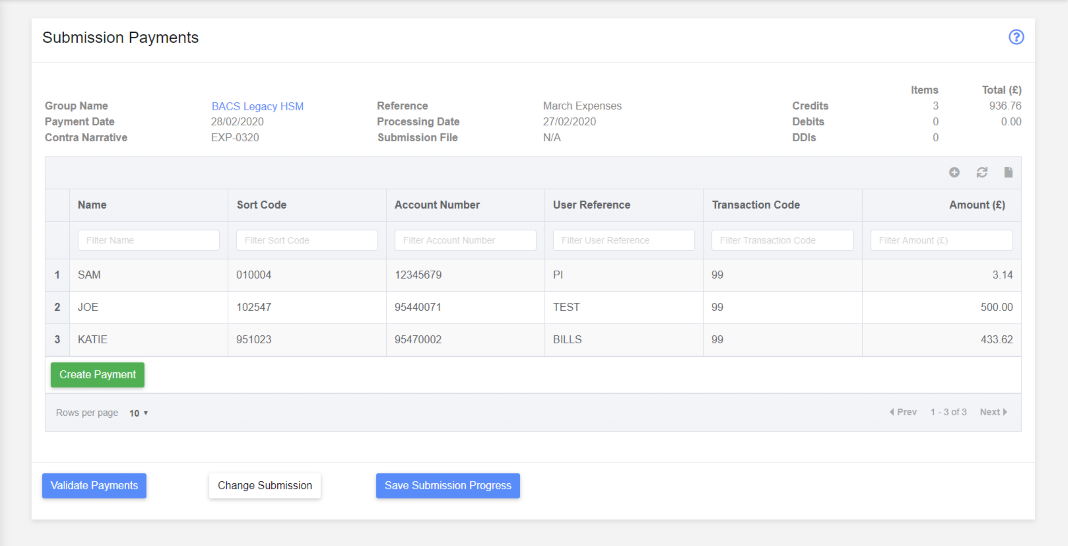
The “Enter BACS Payments” button becomes enabled when a group has been selected and a Submission Reference has been entered. Click this button to begin creating payments as shown below.

Clicking the “Create Payment” button to enter your first payment shows the payment editor screen.
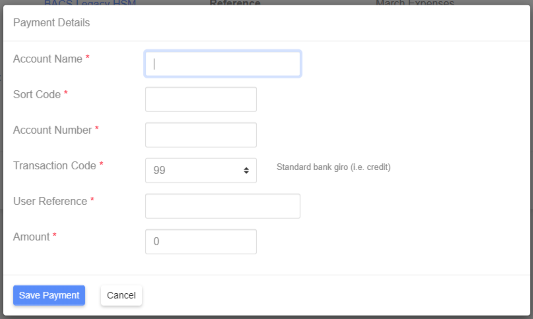
Fill in the details as shown below.
 Note there are green ticks next to the sort code and account number if they are a valid combination.
Click the “Save Payment” button to return to the “Submission Payments” page.
Create New Payment
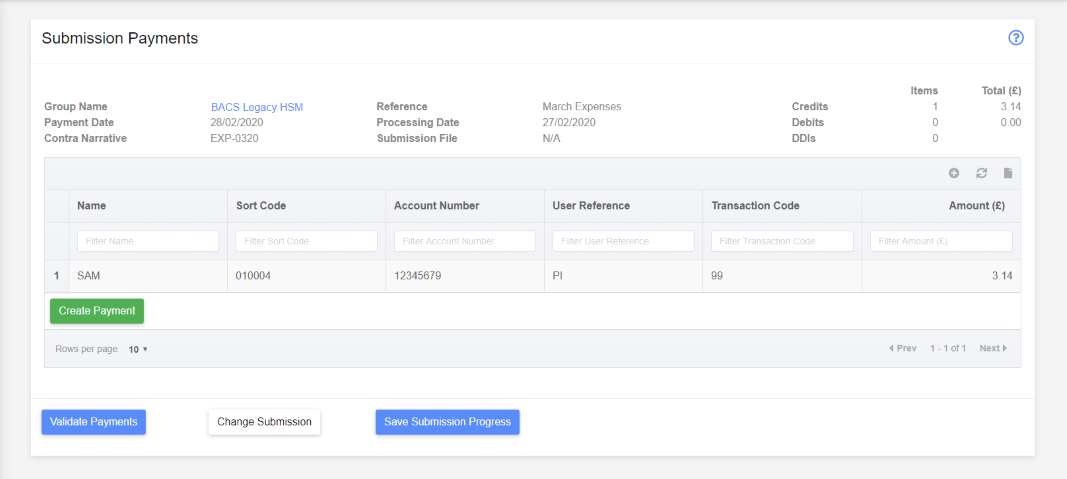
Create a new payment either by clicking the “Create Payment” button or clicking the “+” button in the payment grid tool bar shown below.

Additional payments that are created will be shown in the payments grid as below.
Reset Amounts to Zero
Click the middle button in the payment grid tool bar to reset the amount of all the imported payments to zero. An example of using this feature would be to import a file for paying staff expenses. The names would remain fairly constant but the amounts would differ each time. So the amounts could be set to zero then manually changed for each person.
Save Payment File
Click the “Save” button in the payment grid tool bar to save the edited file to disk meaning it could be imported at a later date.
Clicking the “Change Submission” button will take you back to the “Submission From File” page allowing a different file to be selected. When one of these options is selected, you will be shown a warning that any changes will be lost if you continue.
Validate Payments
Clicking the “Validate Payments” button will validate the payments prior to submitting the submission file to BACS. Any serious issues will prevent you from proceeding and must be fixed before continuing with the selected submission file.
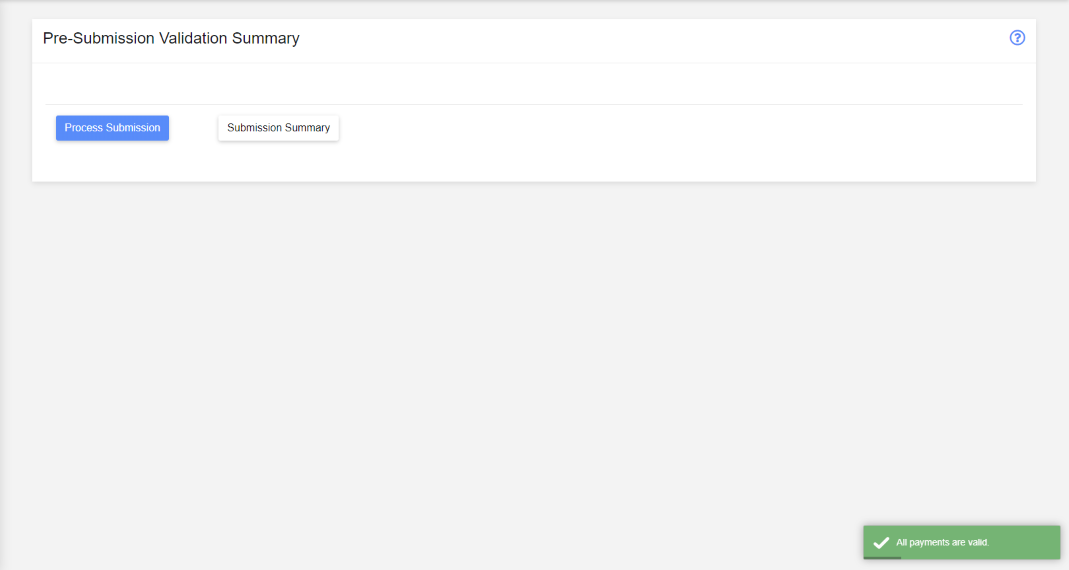
After the pre-submission validation has finished, the results are shown. The actual details on the screen will vary depending on the submission file being validated. An example is shown below.
Following pre-submission validation the user can use the Imported Payments screen to add new records, correct errors within existing records or delete payments completely. The screenshot below shows that all payments are valid.
View Submission Summary
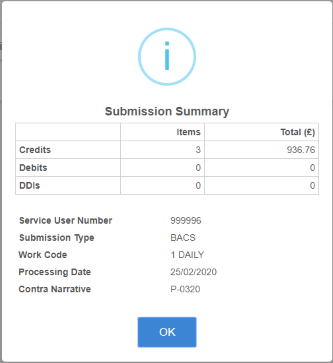
Click the “Submission Summary” button to show the details of the submission as shown below.
Save Submission
To finish the submission creation process, click the “Process Submission” button.
Everyone who has the “Sign” role in the group that was selected for this submission will receive a signing action. The current user will be automatically shown their “Sign Submission” action if they have the “Sign” role.