Paygate Plugin for IE
How to Upgrade the Paygate Plugin in PG3 via IE11
This document details the process of upgrading the Paygate plugin in Paygate 3 via Internet Explorer 11 (IE11) for existing Paygate Online users migrating to Paygate 3.
Plugin versions prior to version 1.2.4 will prompt the user to install the updated plugin for IE11.
For plugin versions 1.2.4 or later, no prompt will be displayed and the user will be able to Sign the Submission as usual.
Upgrading via Smart Card Submission
Log into the Paygate 3 application via IE11.
Process an Online Submission for a Smart Card Group to Signing stage.
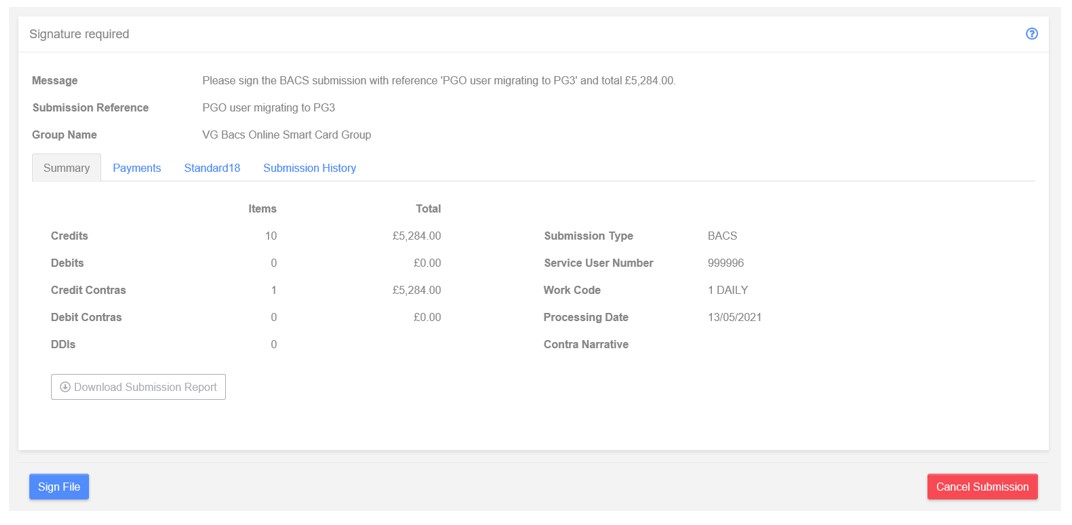
Within the Signing Action, click “Sign File”.
An orange “Warning” toast with message “Plugin or extension needed” will be shown and the “Download Paygate plugin” dialog will be displayed.
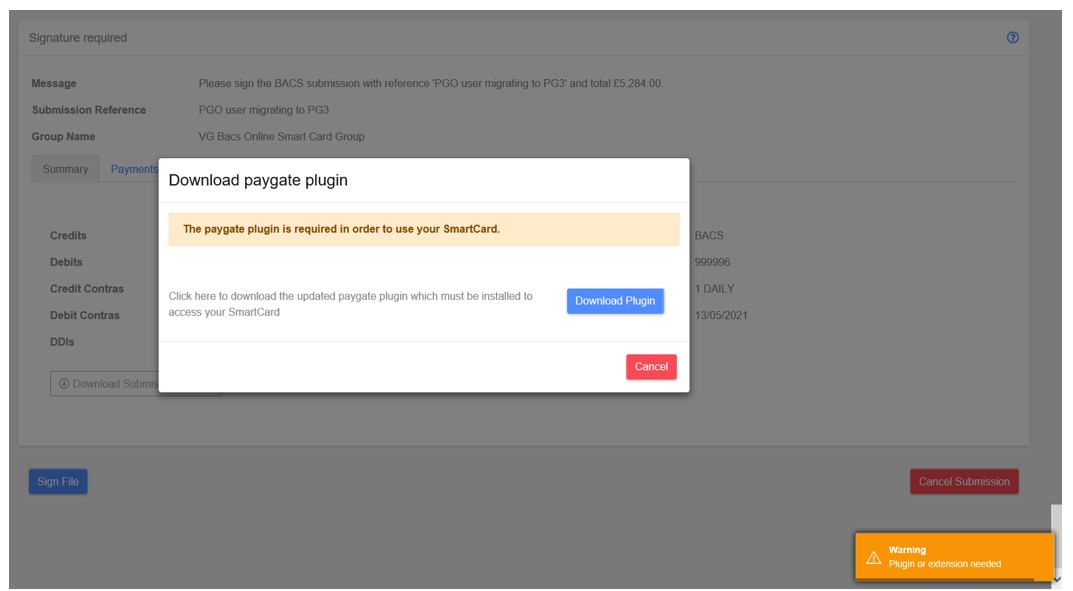
Click “Download Plugin”.
An additional install message will be displayed in the dialog and a prompt will appear at the bottom of the screen.
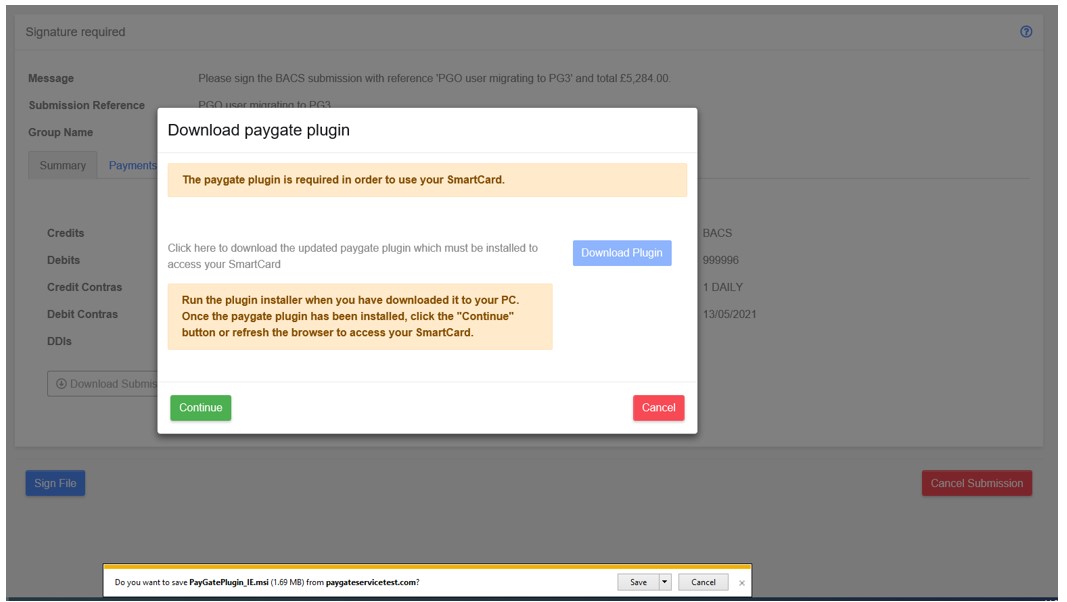
Click “Save” in the prompt.
A security scan will begin.
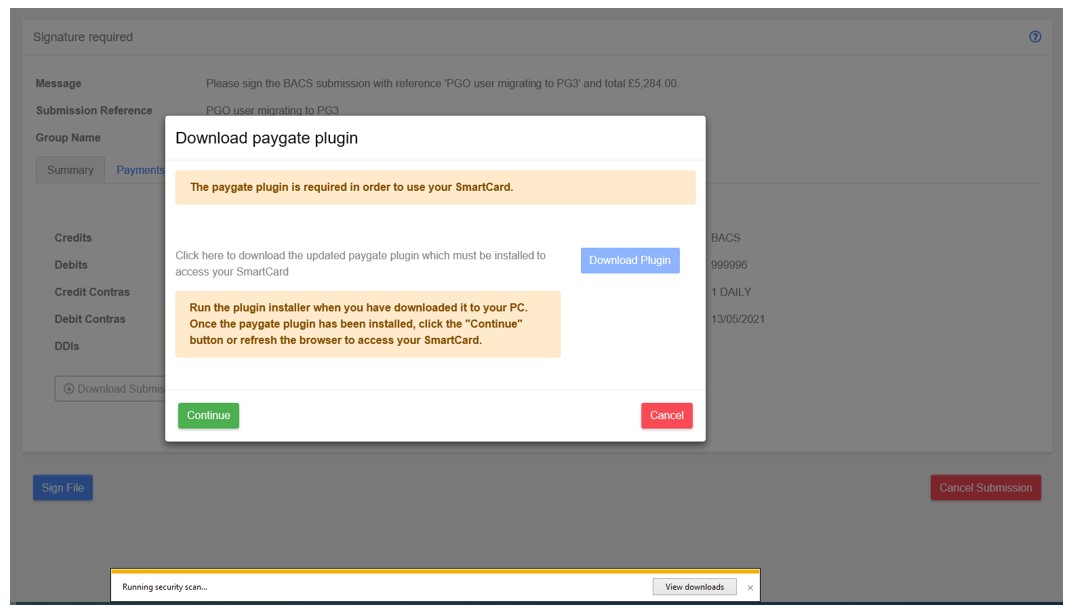
Following the security scan, the prompt will display a warning.
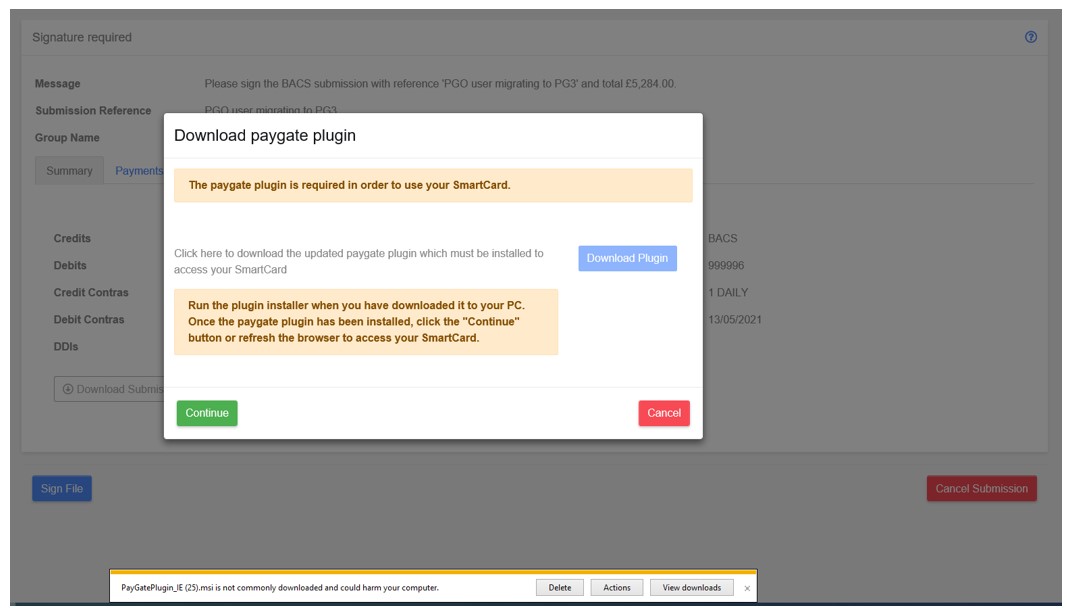
Click “Actions”.
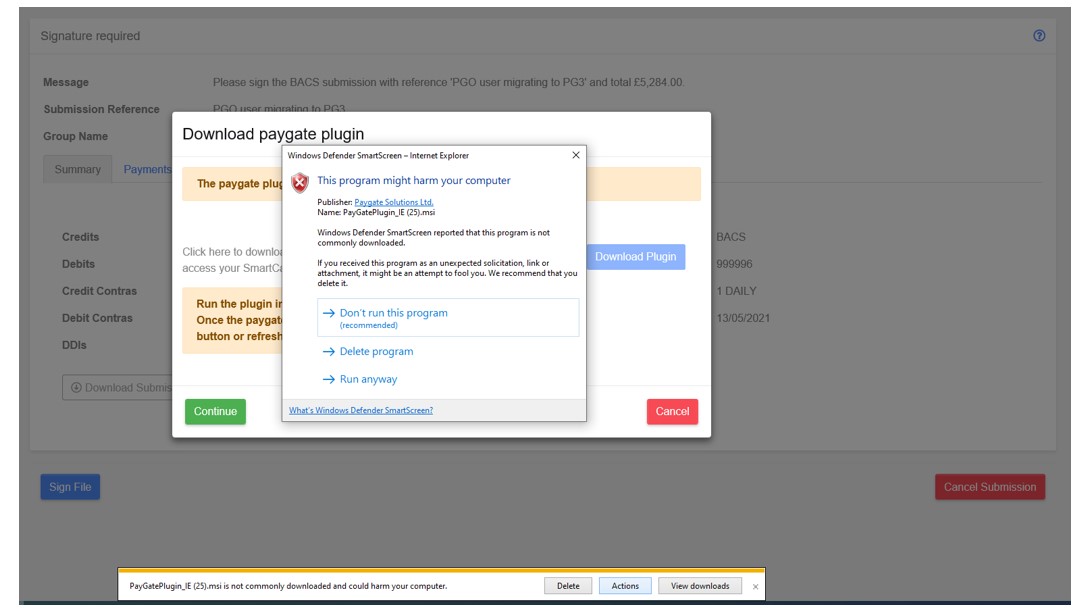
A “Windows Defender” dialog will appear.
Click “Run anyway”.
The Paygate plugin Wizard will be displayed.
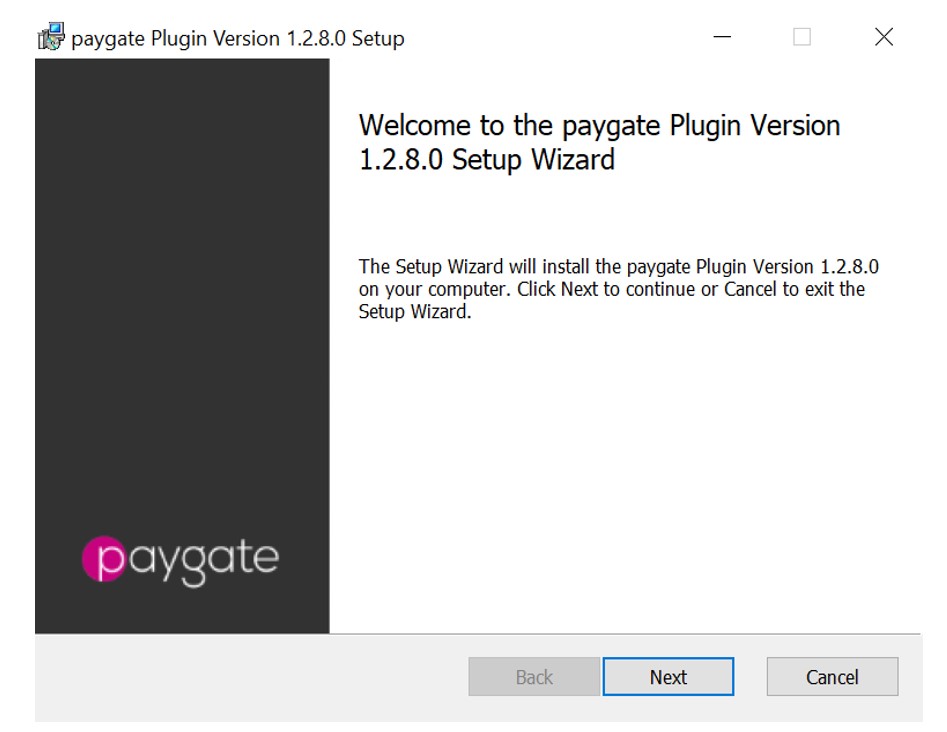
Click “Next”.
The “End-User License Agreement” screen will be shown.
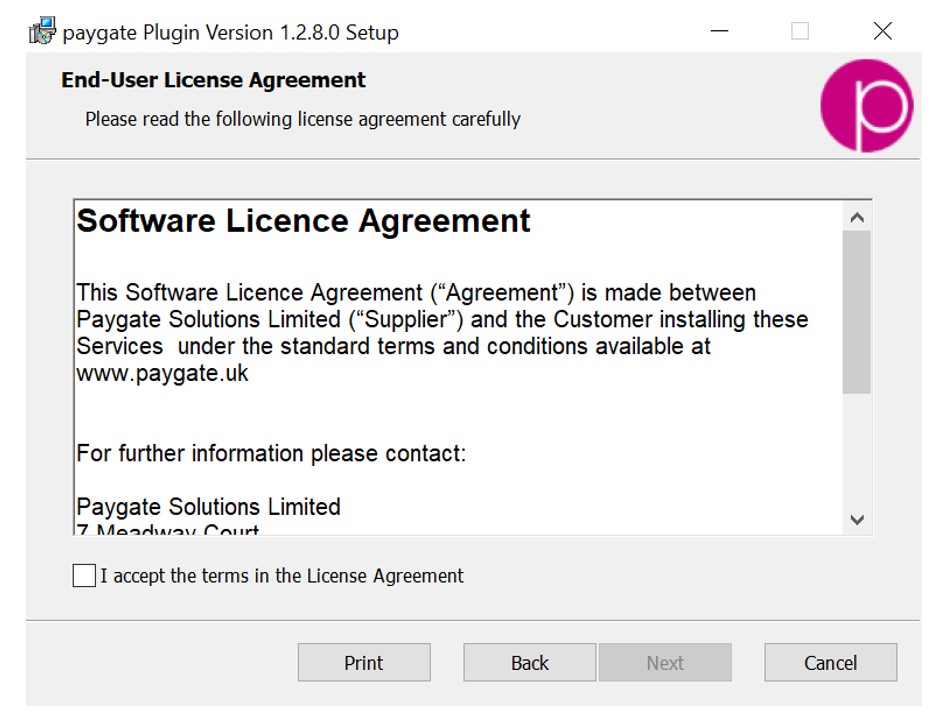
Read the agreement and then tick the “accept” tick box.
The “Next” button will become enabled.
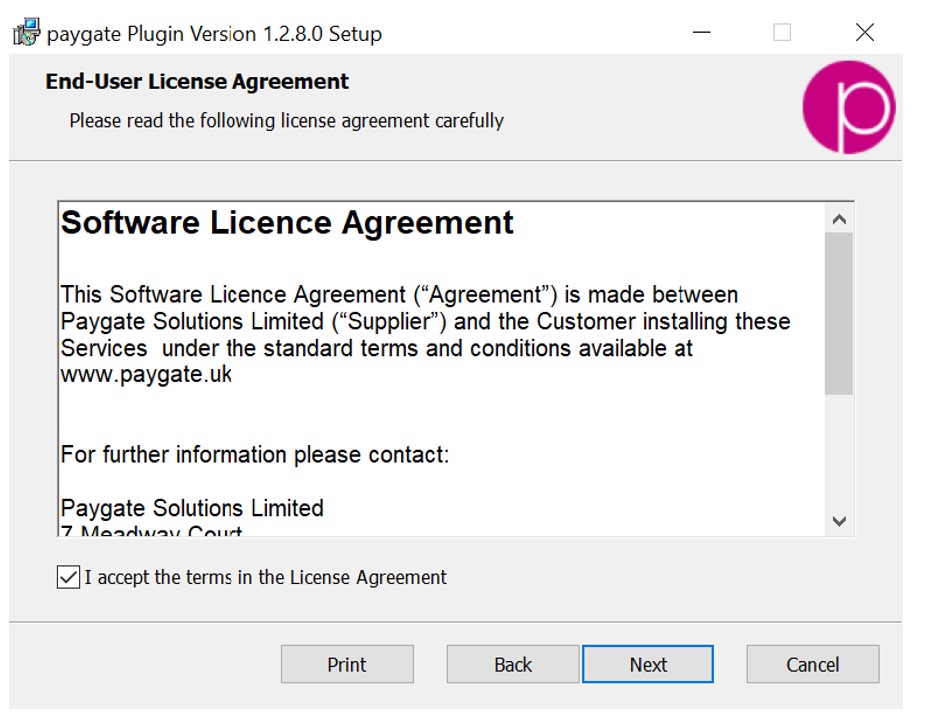
Click “Next”.
The “Destination Folder” screen will be shown.
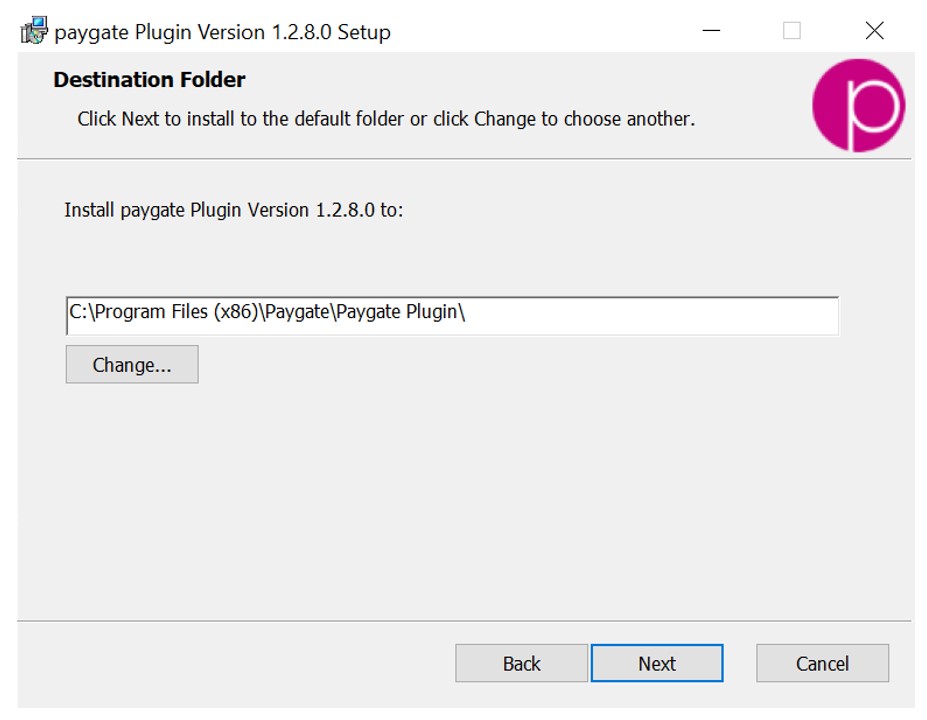
Click “Next” to use the default folder displayed on screen.
The “Ready to install” screen will be shown.
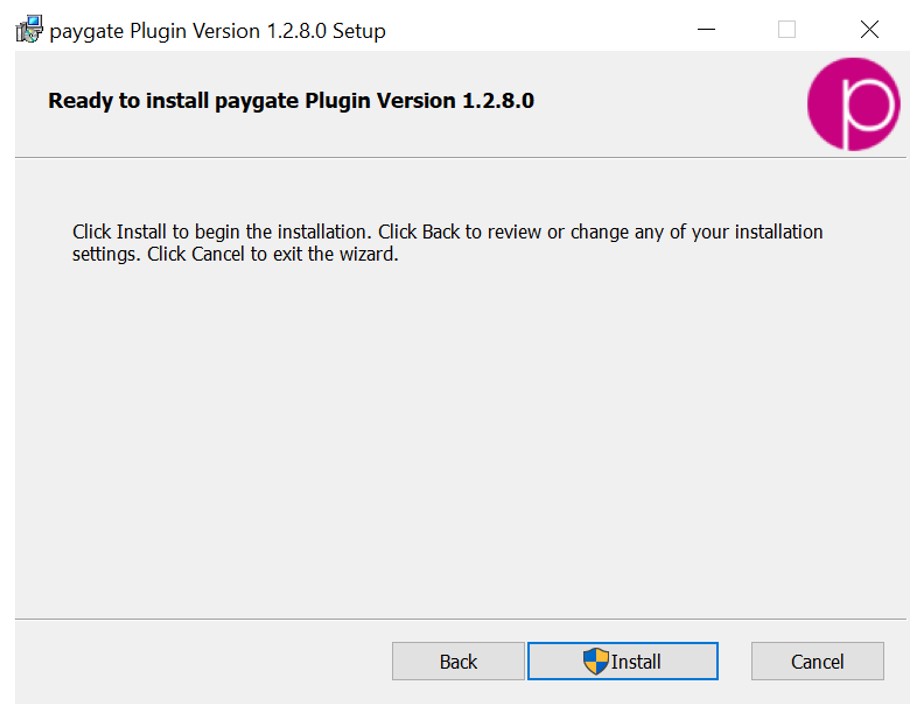
Click “Install”.
A “User Account Control” dialog will be displayed.
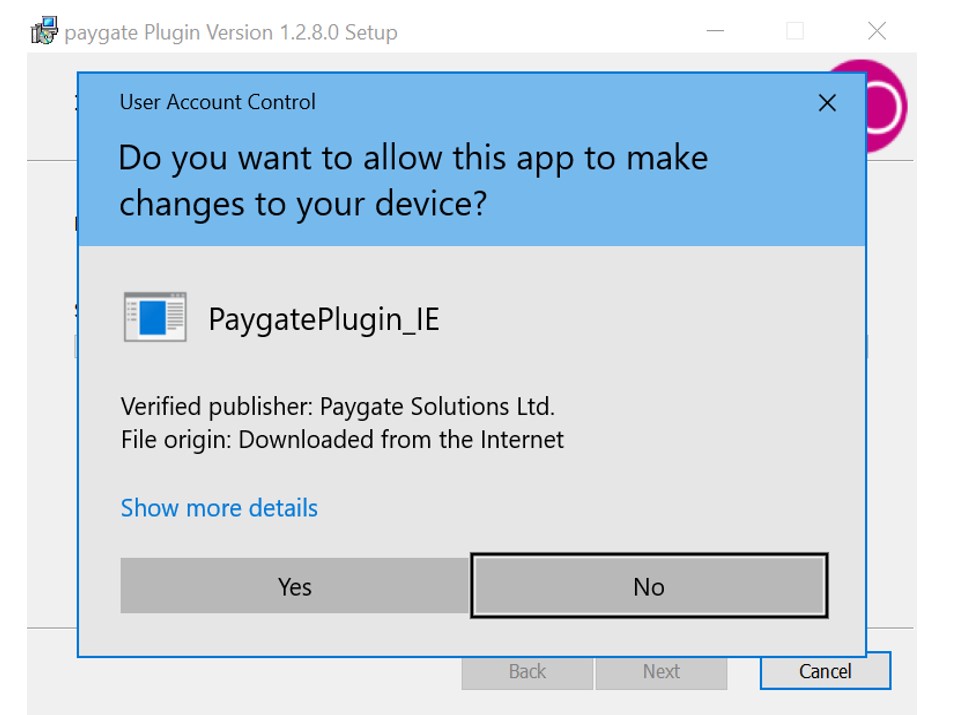
Click “Yes”.
The “Installing” screen will be shown.
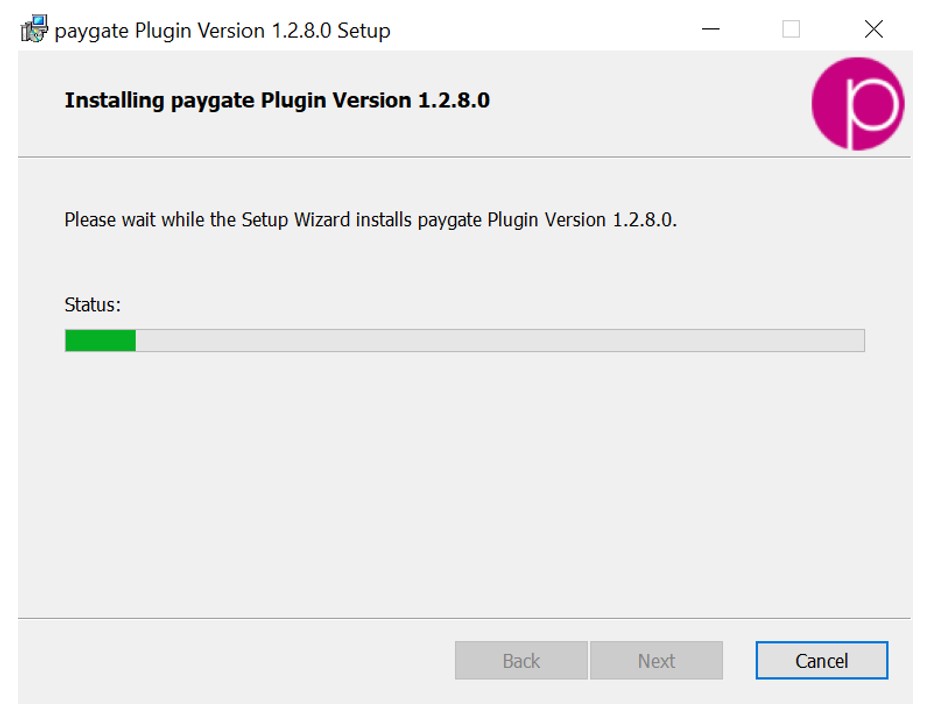
A “Files in Use” dialog will also be displayed.
Check the “Close the applications” checkbox.
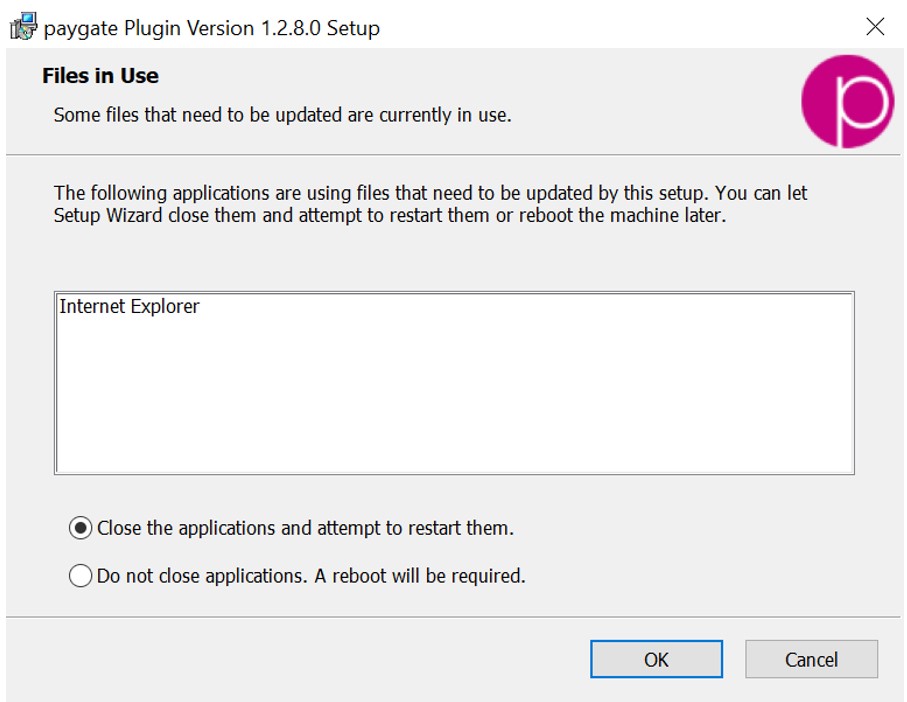
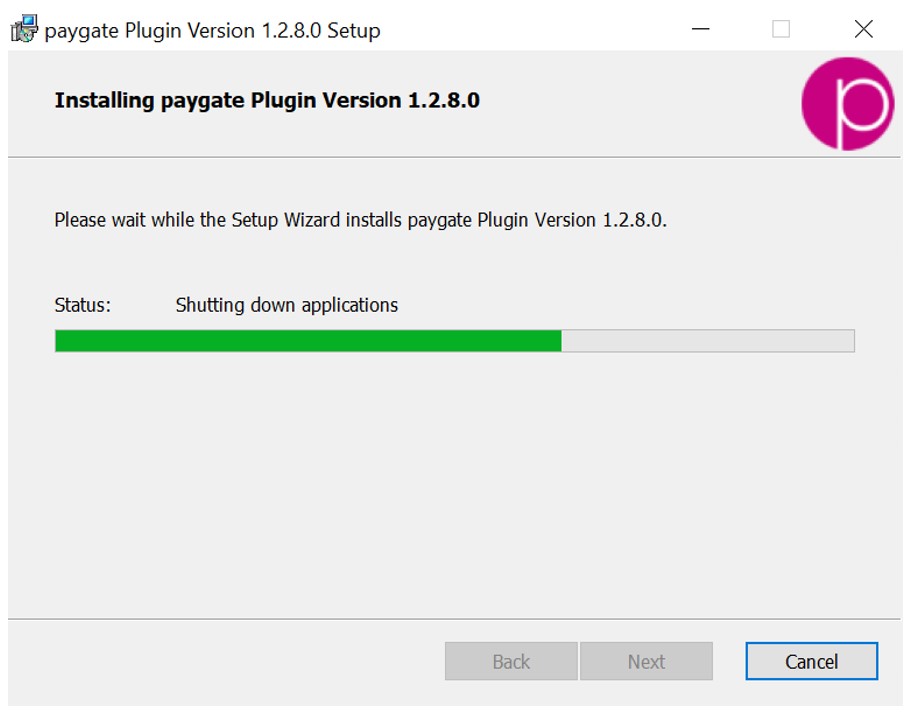
The Wizard will continue to install the Paygate plugin and attempt to shut down the applications.
To ensure a clean install of the Paygate plugin, navigate to the “Download Paygate plugin” dialog.
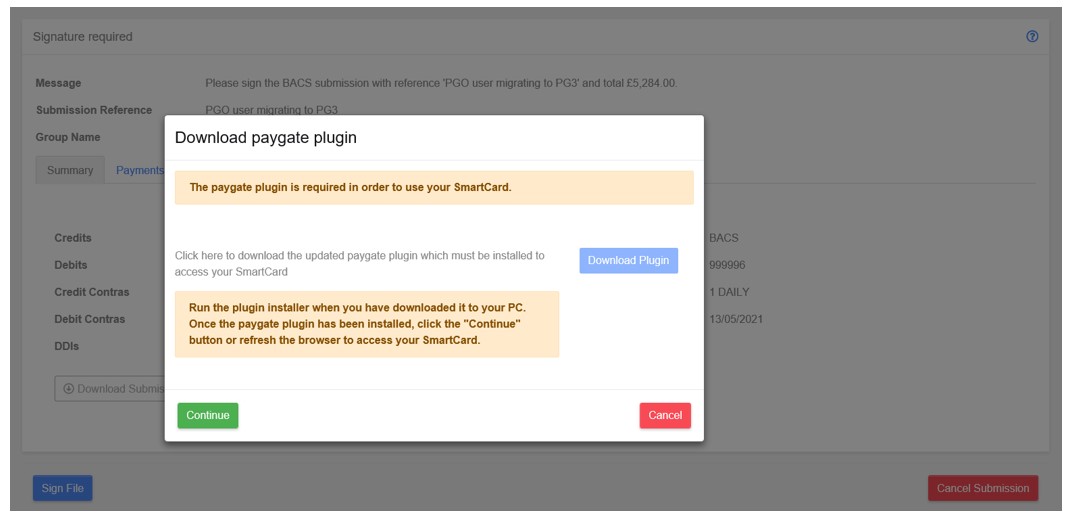
Click “Continue” to close the dialog and then “Sign Out” of the Paygate 3 application and close the IE11 browser.
The Paygate plugin install will finish installing and the “Completed” screen will be shown.
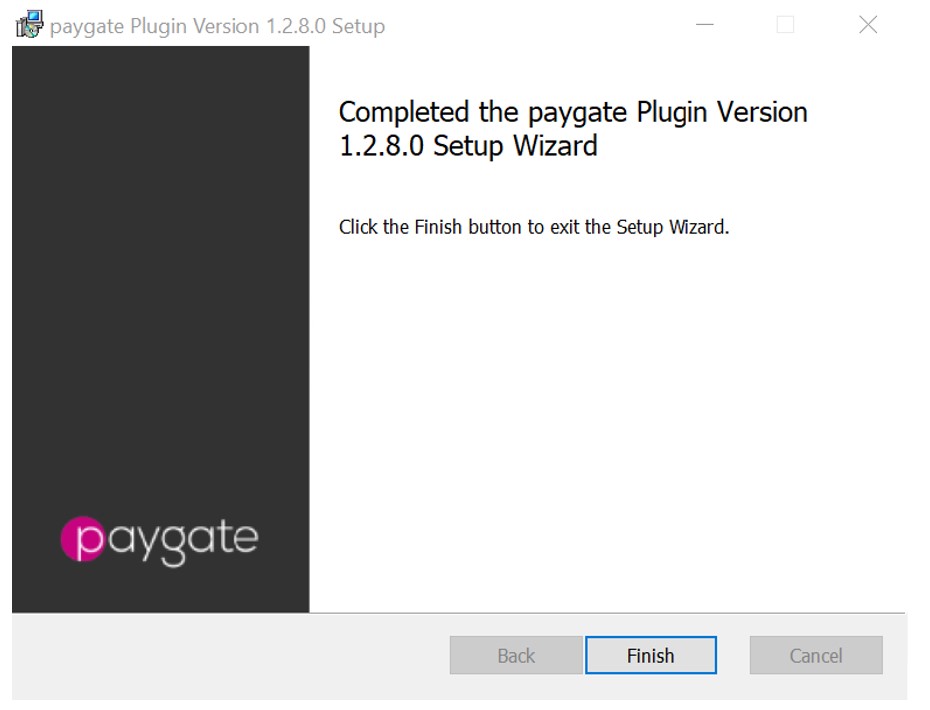
Click “Finish” to exit the Wizard.
Re-open an IE11 browser and log back into the Paygate 3 application.
Navigate back to the Signing Action via the Actions list.
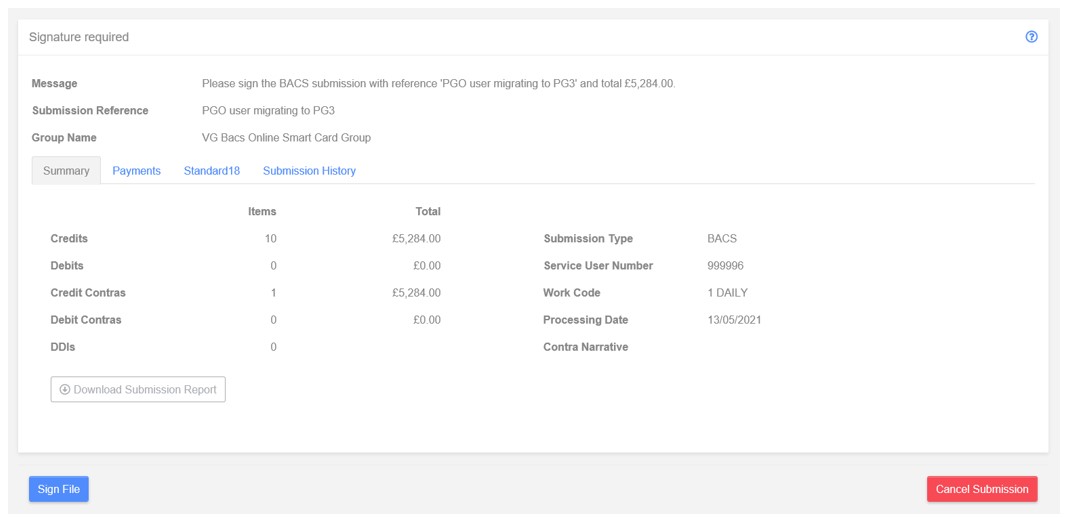
Click “Sign File”.
The Sign dialog will be displayed.
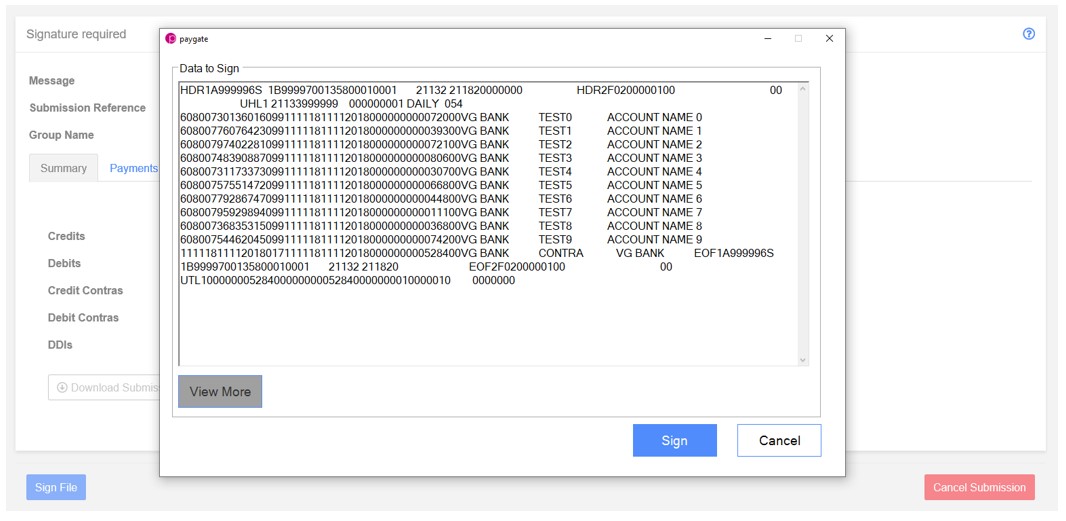
Click “Sign”.
The Sign dialog will close and the Smart Card PIN dialog will be displayed.
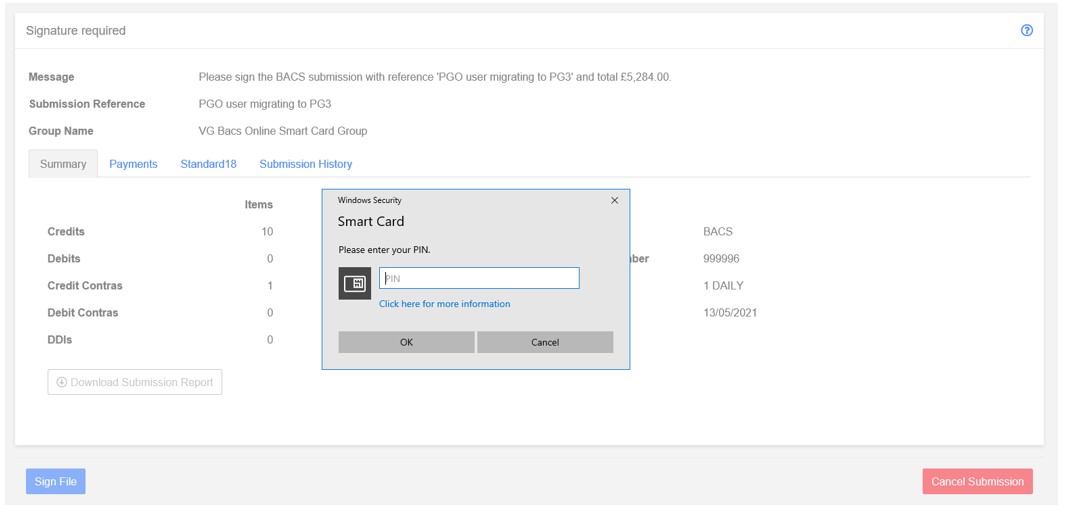
Enter PIN and click “OK” to Sign the Submission.
The Submission will be Signed and will progress to the Approve stage.
Continue the Submission as usual.
